Getting started with Nuxt
Explore the Nuxt framework and how to start a new project using Nuxt and Vue
At threenine we have grown to really appreciate the Nuxt Framework as our defacto standard for quickly and efficiently developing web-based projects. We have tried hundreds over the years, but over the last 2-3 years we have settled on predominantly using and recommending to clients to consider using Nuxt & Vue.
In fact, we love Nuxt so much we use it at the primary platform to develop all our tools and services with. This platform you're reading this post on, is built entirely on Nuxt. We will continue to add more features and complexity as we move through the Nuxt Tutorials , the results of which you will also be able to experience on this site.
In our opinion, Nuxt is uniquely crafted to streamline your development process from start to finish.
What is Nuxt
Nuxt is a robust and versatile framework built on top of Vue, designed to make web development more efficient and streamlined. It primarily focuses on creating universal applications that can be both server-rendered (SSR) and static-generated (pre-rendered), making it a popular choice for building high-performance, SEO-friendly web applications.
Key features of Nuxt
- Server-Side Rendering (SSR): Nuxt is renowned for its ability to seamlessly integrate server-side rendering, which can significantly improve the performance and SEO of web applications. SSR renders the app's initial HTML on the server, resulting in a faster TTI (Time to Interactive) for users.
- Static Site Generation: Alongside SSR, Nuxt supports static site generation. It allows developers to generate a full static website, which can be deployed easily to any static hosting service. This approach combines the benefits of static websites with the dynamic nature of Vue.
- Modular Architecture: Nuxt boasts a modular architecture, making it easy to integrate various features as needed. With over 50 modules available, developers can easily add functionalities like PWA support, Google Analytics, and more without extensive configuration.
- Automatic Routing: Nuxt simplifies routing by automatically generating routes based on the file structure in the pages directory. This reduces boilerplate code and streamlines the development process.
- Vue Ecosystem Compatibility: Being built on top of Vue, Nuxt fully leverages the Vue ecosystem. It supports all Vue features and functionalities, enabling developers to use Vue components and plugins seamlessly.
- Integrated Development Tools: Nuxt includes a robust development environment with hot module replacement, modular plugin system, and middleware support, enhancing the developer experience and productivity.
Use Cases for Nuxt
- SEO-Friendly Websites: Nuxt SSR capabilities make it ideal for developing websites where SEO is a priority, such as blogs, e-commerce platforms, and marketing websites.
- Performance-Centric Applications: Applications that require fast load times and a smooth user experience can benefit from Nuxt's performance optimizations.
- Content-Rich Static Sites: For sites requiring a static output but complex interactions, such as documentation sites or static blogs, Nuxt provides an efficient solution.
- Universal Applications: Applications that need to run both on the server and client side, offering a seamless experience across different environments.
How to start a new project with Nuxt
To start a new project with Nuxt its really quite simple making use npx, which stands for _Node Package Execute (npx)_
is available by default wit NPM starting with version 5.2+, enabling the execution of any package from the packages
repository without the need of installing that package locally on your machine.
Using npx we can use the Nuxi package without installing.
What is Nuxi?
Nuxt Command Line Interface (nuxi) is a set of terminal commands available enabling you to interact with the Nuxt framework to perform tasks and develop.
The Nuxt CLI helps you scaffold entirely new projects with zero effort. The CLI now comes with a new modules interface built-in, and it helps you run commands faster and more efficiently.
nuxi was introduced to provide a no dependency experience for easily scaffolding your Nuxt projects.
Top Tip
To install nuxi on you local computer use npm i -g nuxi
npx nuxi init name-of-your-project
Nuxi will prompt you for your choice of package manager, we'll leave this up to you to decide which one works best for
you. The good news is that Nuxt, can fit into any of your preferred tool-chains.
After working your way through the rest of the application generation wizard, if your change into the directory created you will obeserve that the following minimal project structure has been created for you.
.
├── app.vue
├── node_modules
├── nuxt.config.ts
├── package.json
├── public
├── README.md
├── server
├── tailwind.config.ts
├── tsconfig.json
└── yarn.lock
Let’s breakdown these files and directories.
app.vue:This is the main component of a Nuxt.js application created when you initiate a new project withnpx nuxi init. This component is sufficient for an app that does not need routing.node_modules:This is the file where the project’s dependencies are placed. We neither modify this directory’s contents nor stage its contents for versioning.nuxt.config.js: This is the file that stores a Nuxt project’s configuration.package.json: file is a crucial component of any Node.js project. It holds metadata relevant to the project and is used to manage project dependencies, scripts, and other configurations.yarn.lock: This file persists the versions of the dependencies our project uses for consistency whenever our project happens to be run. We normally don’t modify this file as it is managed by the package manager.
Once you've generated your project, as the screen. suggest you can now change into the directory created and run it
yarn run dev
This will display the Nuxt welcome page which will verify that your project creation has gone to plan.
Set your Node Version
We generally make use of Node Version Manager here at Threenine, to support multiple projects on different versions of node.
So usually one of the first steps we carry out on new projects is to set the Version of node for the project, buy creating
the .nvmrc file that records the Node Version number. You can do really simply by running the following command:
node -v > .nvmrc
This will create a new .nvmrc file in your project directory
.
├── app.vue
├── .gitignore
├── layouts
│   └── default.vue
├── nuxt.config.ts
├── .nvmrc
├── package.json
├── pages
│   └── index.vue
├── public
│   ├── favicon.ico
│   └── robots.txt
├── README.md
├── server
│   └── tsconfig.json
├── tailwind.config.ts
├── tsconfig.json
└── yarn.lock
Which will contain your node version you have set for the project, or have set as your default version you're currently
working with. In my case this is set to v20.12.0
Edit your startup
The default start page for a project is that not exactly what you'd want to develop for your project, so you're more than likely going to what to change that.
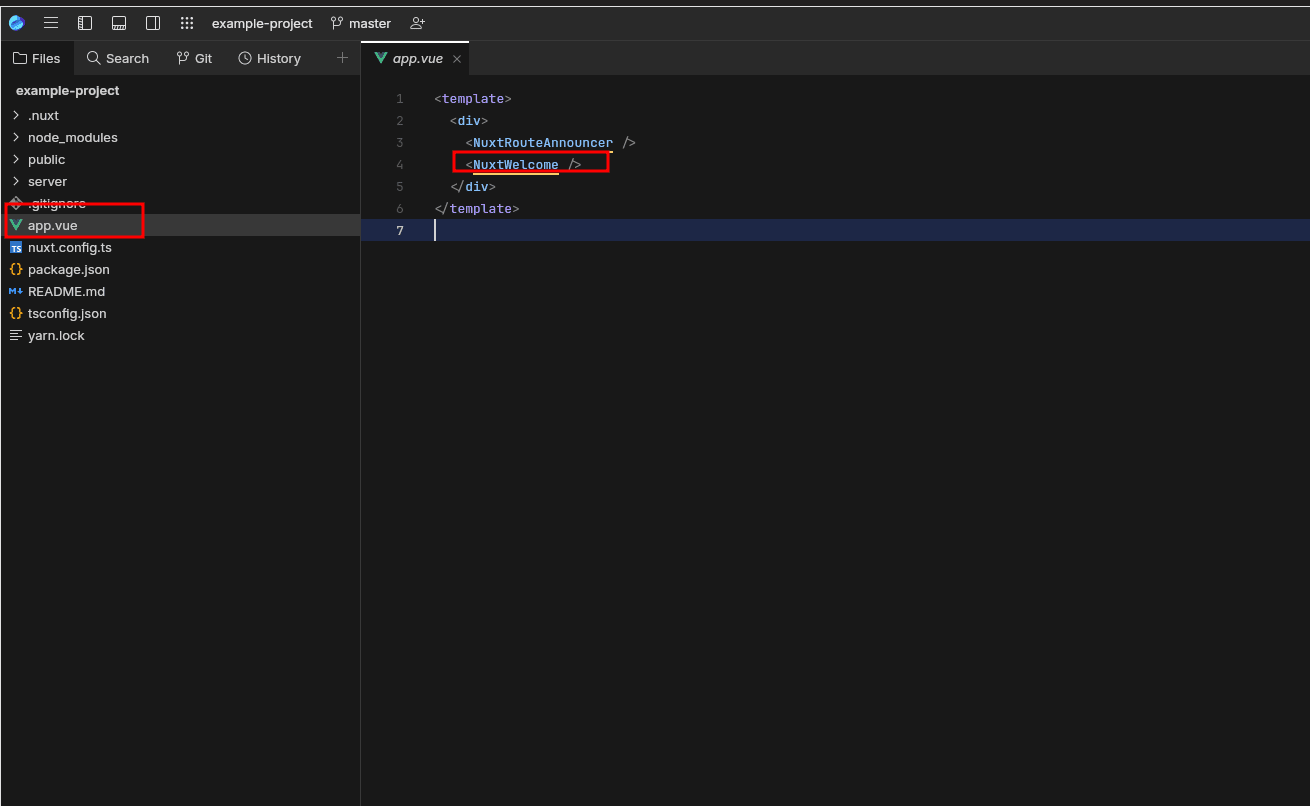
To change, this you can use any Text Editor or IDE to open the project and navigate to app.vue. In my case, I will
be making use of Jetbrains Fleet, which is a Code Editor.
fleet .
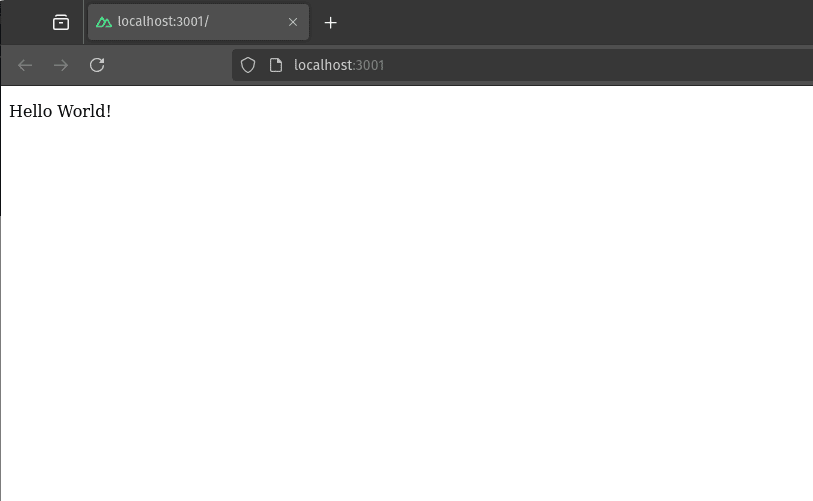
You can safely remove the <NuxtWelcome />, and if you go back to your browser there will be nothing but a white screen
You can update the contents of the file as follows,
<template>
  <div>
    <NuxtRouteAnnouncer />
  <p>Hello World!</p>
  </div>
</template>
What is the NuxtRouteAnnouncer
a NuxtRouteAnnouncer is a component or feature in Nuxt that announces route changes to assistive technologies,
such as screen readers, when a user navigates between pages. The NuxtRouteAnnouncer aims to improve the accessibility
of Nuxt applications by providing a clear and immediate announcement of route changes to users relying on assistive
technologies.
Getting to know Nuxi
The best way to start developing with Nuxt is too really get acquainted with Nuxi, most notably because it comes bundled
with a number commands which are extremely useful. In How to use layouts and pages in Nuxt
we provide further instruction on how to use nuxi during your course of developing an application in nuxt. However,
for now we'll discuss the most common commands you will undoubtedly use when working regularly with Nuxt.
Nuxi Add
The nuxi add command usually adds a template of a file to your Nuxt project. This can either be a api,layout, page, composable,
plugin, or middleware.
nuxi add [--cwd] [--force] <TEMPLATE> <NAME>
cwd : current working directory which is the path you will like the file to be created. This is optional
—force: override file if file already exists (optional)
TEMPLATE: type of file (page, plugin, component etc)
NAME: name of file
We will of course go through a number of these options in future tutorials, but at the moment it is a good idea to gain some familiarity of the structure of the commands.
nuxi analyze
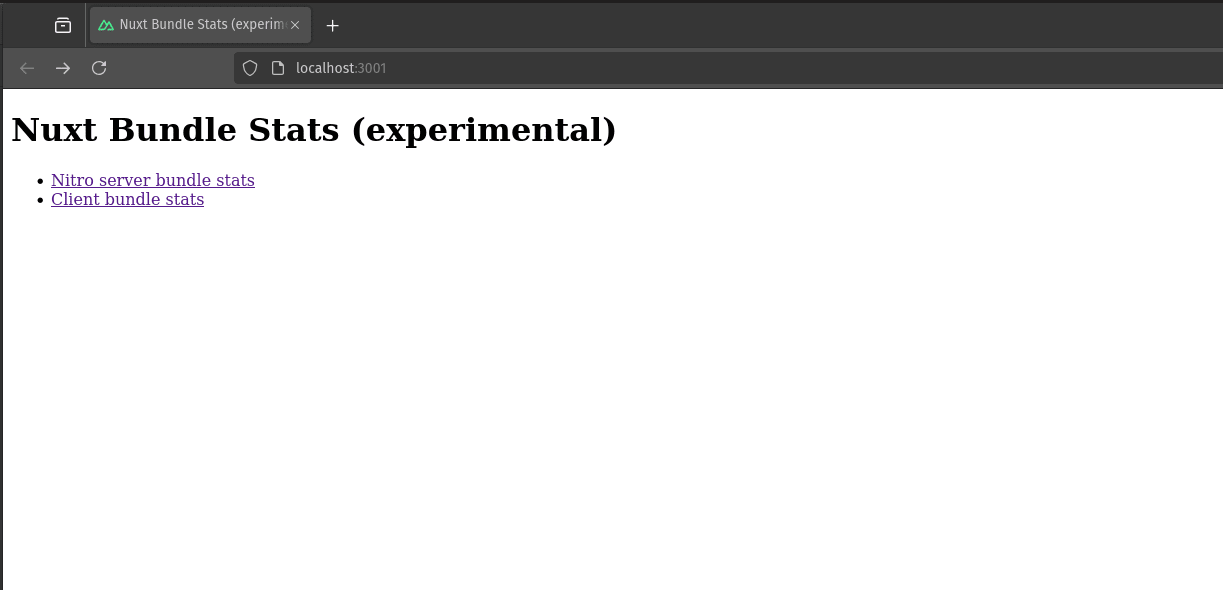
nuxi analyze is an experimental feature that builds your Nuxt app and analyses the production bundle. After running the
nuxi analyze command, a local server is created to view your bundles.
nuxi analyze
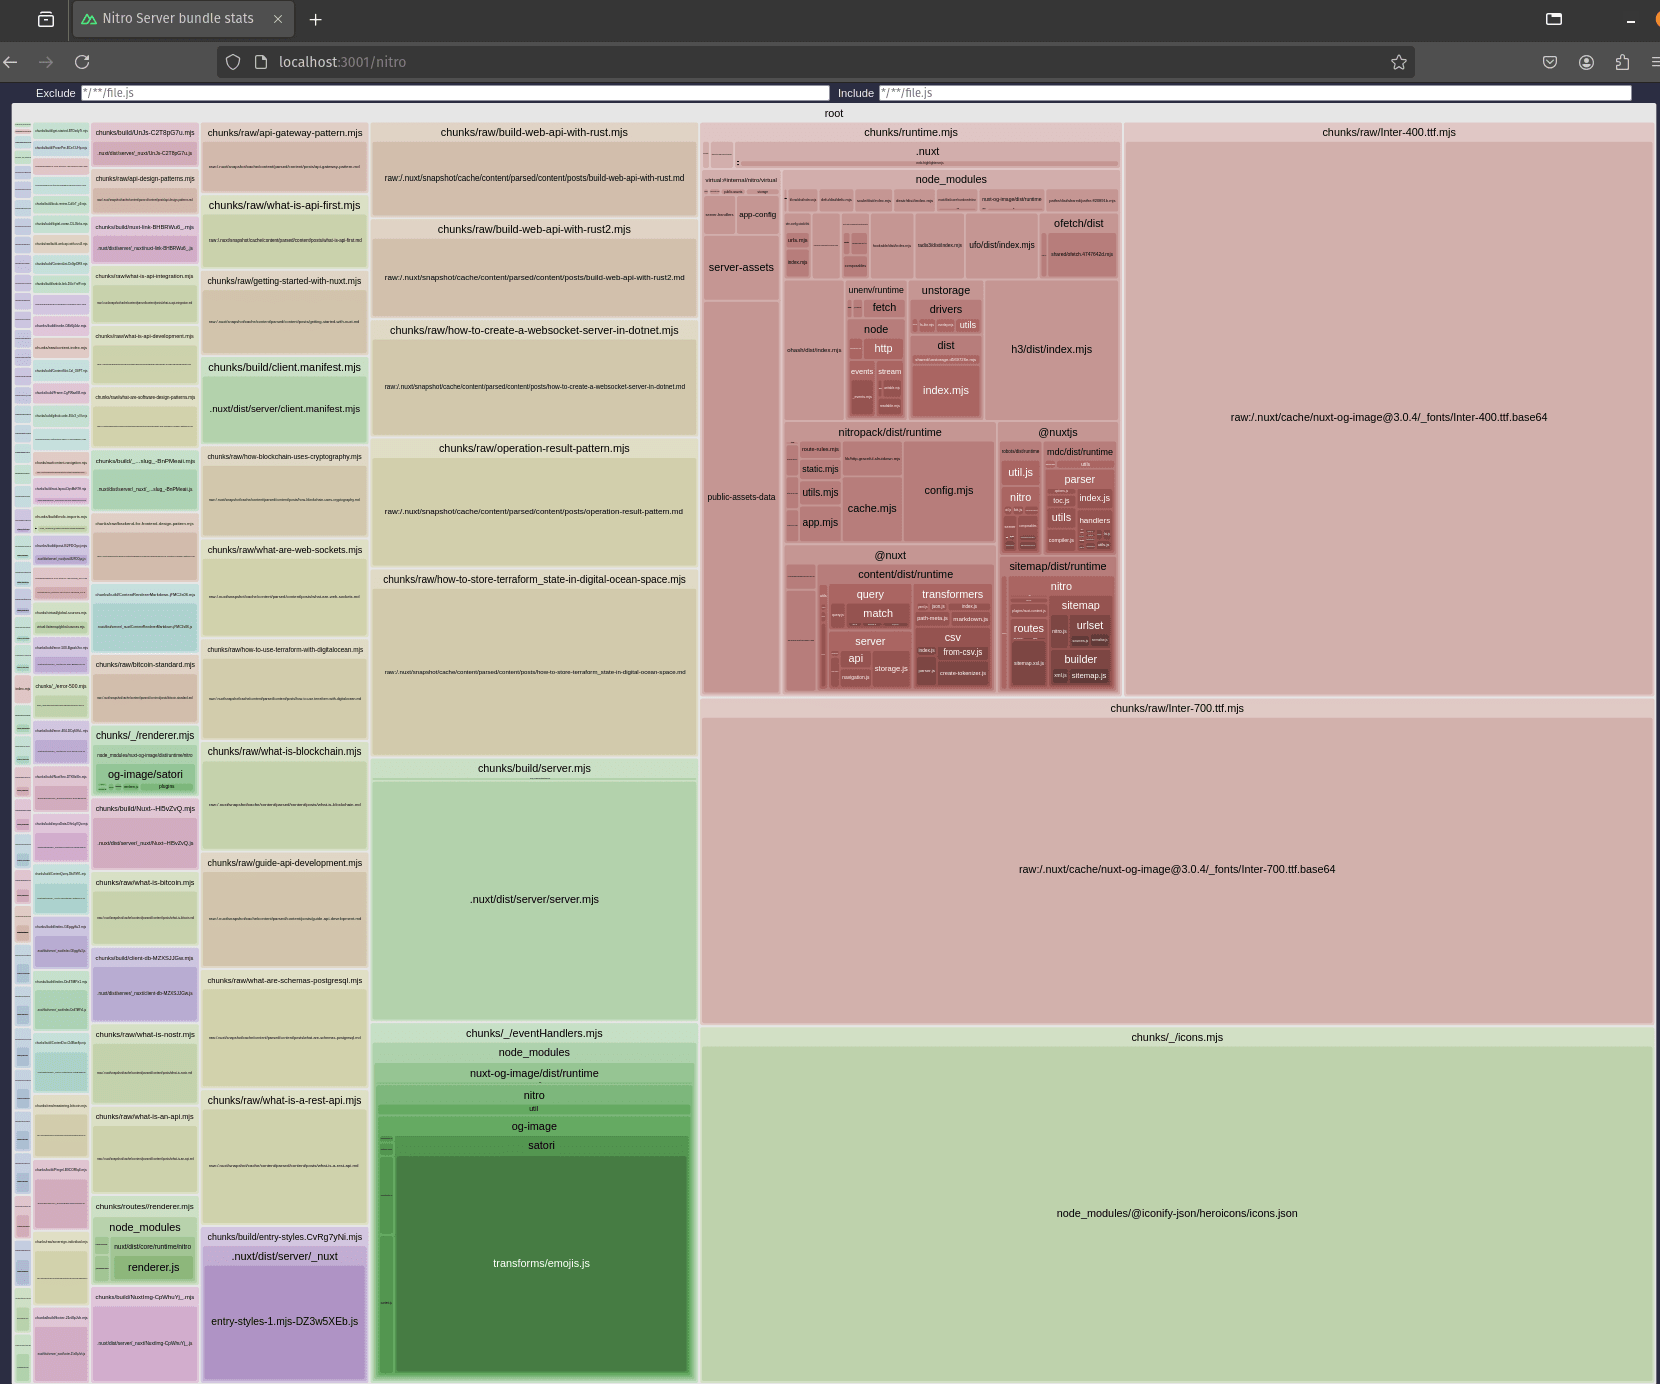
Clicking on any of those links will show a visual representation of your production bundles viewed on our created local server. You can then analyse your bundles and optimize them as you can. All this may look overwhelming at the beginning but the larger the rectangle, the bigger part of the bundle that dependency is and may affect performance.
nuxi upgrade
The upgrade command simplifies the often complex and error-prone process of updating project dependencies. Executing this command, nuxi automatically checks for the latest versions of Nuxt and related packages, applies necessary updates, and makes sure all configurations and dependencies are compatible with the new versions.
This helps developers maintain an up-to-date codebase with the latest features, performance improvements, and security patches, ensuring the application remains robust and efficient.
nuxi upgrade
Before using the nuxi upgrade command, it is crucial to ensure that your project is backed up or version-controlled,
preferably with a recent commit in your version control system. This precaution helps protect against any unexpected
issues or incompatibilities that may arise during the upgrade process.
Additionally, once the upgrade is complete, thoroughly test your application to confirm that all functionalities are intact and that no breaking changes have been introduced. Following these steps can save significant time and effort, ensuring a smooth and successful transition to the latest versions of Nuxt and its dependencies.
Conclusion
Nuxt provides a powerful yet intuitive framework for building modern, server-rendered Vue.js applications. This guide walked you through the initial setup, including installation, gaining a basic understanding the project structure, and configuring essential features like routing, components, and plugins.
By leveraging Nuxt, developers can benefit from enhanced SEO, improved performance, and a structured approach to building scalable applications. As you continue to explore and develop with Nuxt, you'll find a rich ecosystem of tools and a supportive community to assist you in creating high-quality web applications. Embrace the features and flexibility of Nuxt.js to elevate your web development projects to new heights.


